Skip to content
RainGuttering

Gutter Installation Basics

By RainGuttering Editorial TeamUpdated
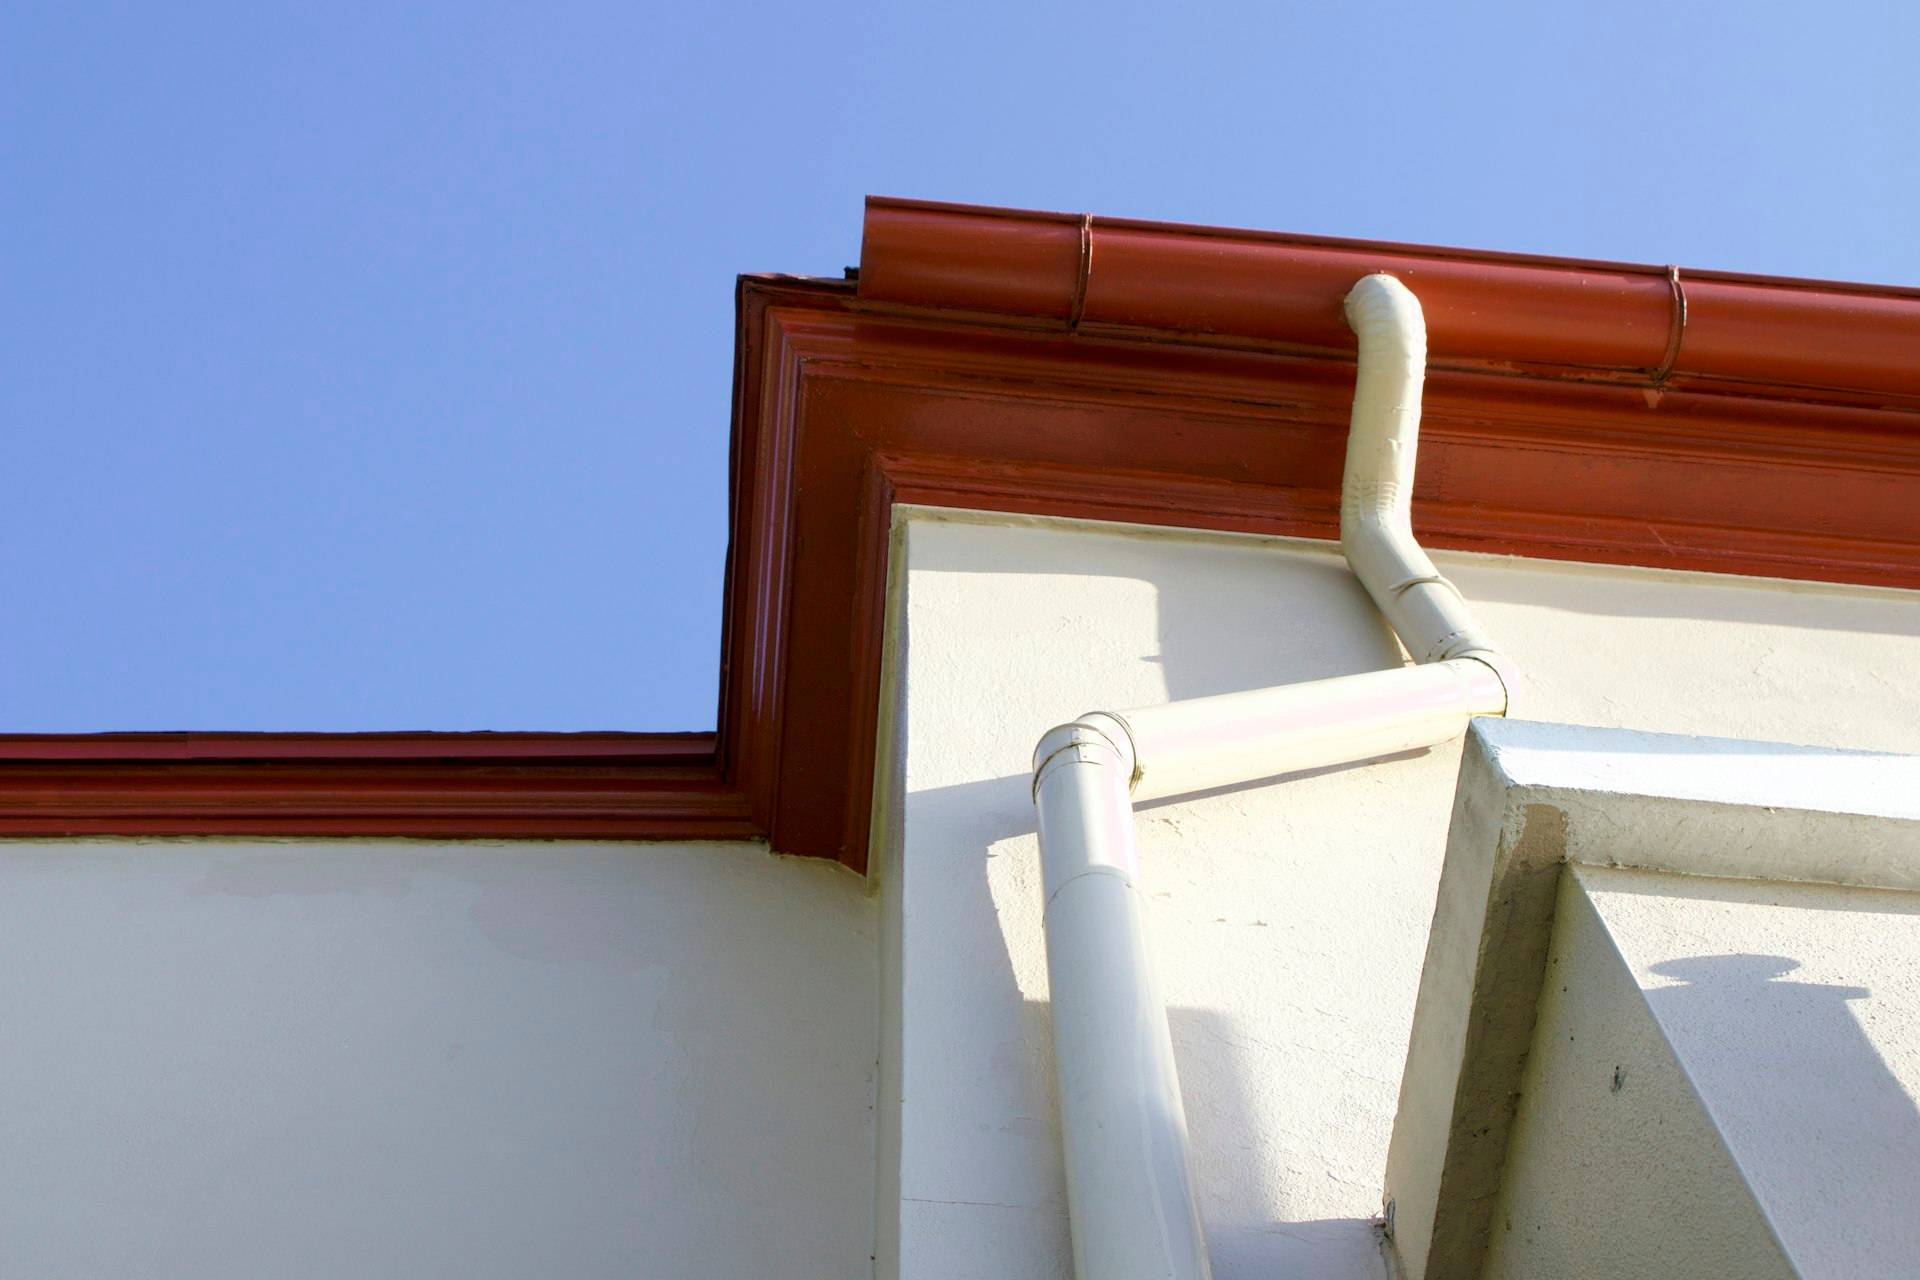
A clean, newly painted gutter and downspout corner on a house exterior

A gutter installation is four decisions and one day of work: what material and profile, what size, how it’s pitched, and how it’s fastened to the house. Most installations that fail early fail on the last three, not the first, which is why the cheapest quote and the best quote are often distinguished by things the quote doesn’t mention.

What actually happens during an installation

A professional install on a typical single-family home runs about a day and follows a predictable sequence:

  1. Tear-off and inspection. The old system comes down and the fascia behind it gets looked at. This is the moment hidden rot surfaces.
  2. Fascia repair, if needed. Hangers pull out of soft wood, so this can’t be skipped or deferred.
  3. Forming or cutting to length. Seamless runs are formed on-site from a coil; sectional is cut and joined.
  4. Hanging to a set pitch, working from a chalk line rather than by eye.
  5. Downspout placement and attachment, including elbows and extensions to route water away.
  6. Flow testing. Water goes through the system to confirm it drains where it’s supposed to.

If a quote doesn’t mention steps 1, 2, or 6, those are the ones worth asking about. They’re where installations quietly go wrong.

Seamless vs sectional

Seamless gutters are formed on-site from a coil, so a run has no joints except at corners and end caps. Fewer joints means fewer future leak points, which is the whole argument for the premium. Sectional comes in fixed lengths joined with sealant roughly every ten feet, costs less, and is installable without specialist equipment.

The practical difference shows up in year eight, not year one. Sealed joints are the first thing to fail on a sectional run, and each one is a small repair that eventually adds up. Our seamless vs sectional comparison works through when the premium pays for itself.

Sizing is where a lot of installs go quietly wrong

An undersized gutter handles ordinary rain perfectly and fails only during the storm you actually needed it for. Because the failure is intermittent, it can go unnoticed for years and gets blamed on debris rather than capacity.

Correct sizing is a function of roof area, roof pitch, and local rainfall intensity, not the linear footage of the house. Steeper roofs deliver water to the gutter faster, which effectively increases the load. Five-inch K-style suits most homes; six-inch carries substantially more for a modest price increase, and on a large or steep roof that margin matters more than the cost difference suggests.

Note

Downspouts are the more common bottleneck. A correctly sized gutter still overflows if there aren’t enough outlets, or if they’re 2x3 inch where the roof called for 3x4. Ask about downspout count and size, not just gutter size.

K-style dominates new US construction; our terminology guide covers where half-round is still standard and why.

Pitch, and why level is the wrong goal

A gutter needs a slight, consistent fall toward the downspout. Roughly a quarter-inch of drop per ten feet of run is the common trade target.

Too little pitch and water stands in the trough instead of draining, which accelerates corrosion and breeds mosquitoes. Too much and it reads as visibly crooked from the ground while wasting capacity at the high end. A dead-level gutter, despite sounding like the careful choice, is the wrong target.

On long runs, installers often pitch from a high point in the middle toward downspouts at both ends rather than running a single fall across the whole length, which would leave one end noticeably lower than the fascia line.

Hanger spacing depends on your climate

Standard spacing assumes ordinary rainfall load. Homes in heavy snow or ice regions need closer spacing to carry sustained ice weight, which acts on the hangers rather than the gutter itself. This is easy for an out-of-area installer to miss when working from a generic spec sheet.

Hidden hangers screwed into the fascia are now the standard approach and hold better than the older spike-and-ferrule method, which works loose as the wood expands and contracts. If a quote specifies spikes, ask why.

Our state guides cover which climates make this a real specification question rather than a detail.

Want a pro to handle it?

The fastest way to learn what this job costs where you live is to have a few local contractors price it.

  • Describe the job once and compare several local pros
  • Quotes are free, and you're not committed to hiring anyone
  • Worth doing even if you fix it yourself — it tells you what the work is worth

Sponsored link — we may earn a commission if you request a quote, at no cost to you. How we're funded

Find top-rated pros in your area

Where the water goes matters as much as the gutter

An install that catches water perfectly and discharges it against the foundation has solved the roof’s problem and created the house’s. Downspouts should route water well clear of the structure, which usually means extensions, and on lots that slope toward the house it can mean underground drainage.

This is the part of an installation most likely to be treated as an afterthought, and it’s the part with the most expensive failure mode. Our foundation drainage guide covers what happens when it’s wrong.

What a professional install actually includes

Beyond hanging gutter, a real installation covers fascia inspection and repair, correct sizing for your roof rather than a default, pitch set to a line, hanger spacing matched to your climate, downspout placement that moves water away from the foundation, and a flow test at the end.

A quote that lists only linear footage and a material has priced the visible part of the job. That’s not automatically a problem, but it means you can’t compare it meaningfully to a quote that priced all of it.

DIY installation: what’s realistic

Sectional vinyl or aluminum on a single-story house is genuinely achievable for a confident DIYer and can roughly halve the cost. Seamless is not a DIY job, since the forming machine is the entire point.

Pitch is where most DIY installations go wrong, and the failure is undramatic: water stands in the trough rather than anything visibly breaking, so it can go unnoticed for a season. Working to a chalk line rather than by eye is the single thing that most improves the outcome. Anything above single-story height turns this from a cost decision into a fall-risk decision, which our ladder safety guide covers directly.

Frequently asked questions

How long does gutter installation take?

A typical single-family home takes a professional crew about a day, sometimes less. DIY sectional installs take longer, often a full weekend, mostly because of the learning curve on pitch and hanger spacing.

What size gutter do I need?

Five-inch K-style handles most single-family homes. Move to six-inch if you have a large roof area, a steep pitch that delivers water fast, or live somewhere with high-intensity rainfall. Six-inch carries roughly 40 percent more water for a small price increase.

How many downspouts does a house need?

A common rule is one downspout per 600 to 800 square feet of roof area, with more in high-rainfall regions. Downspout capacity is a frequent bottleneck: a correctly sized gutter still overflows if the water can't leave fast enough.

Do I need to replace fascia boards when installing new gutters?

Not always, but a good installer checks fascia condition before hanging anything. Rotted or soft wood won't hold hangers securely no matter how well the gutter itself is installed, and this is the most common reason an installation quote grows once work starts.